First Task
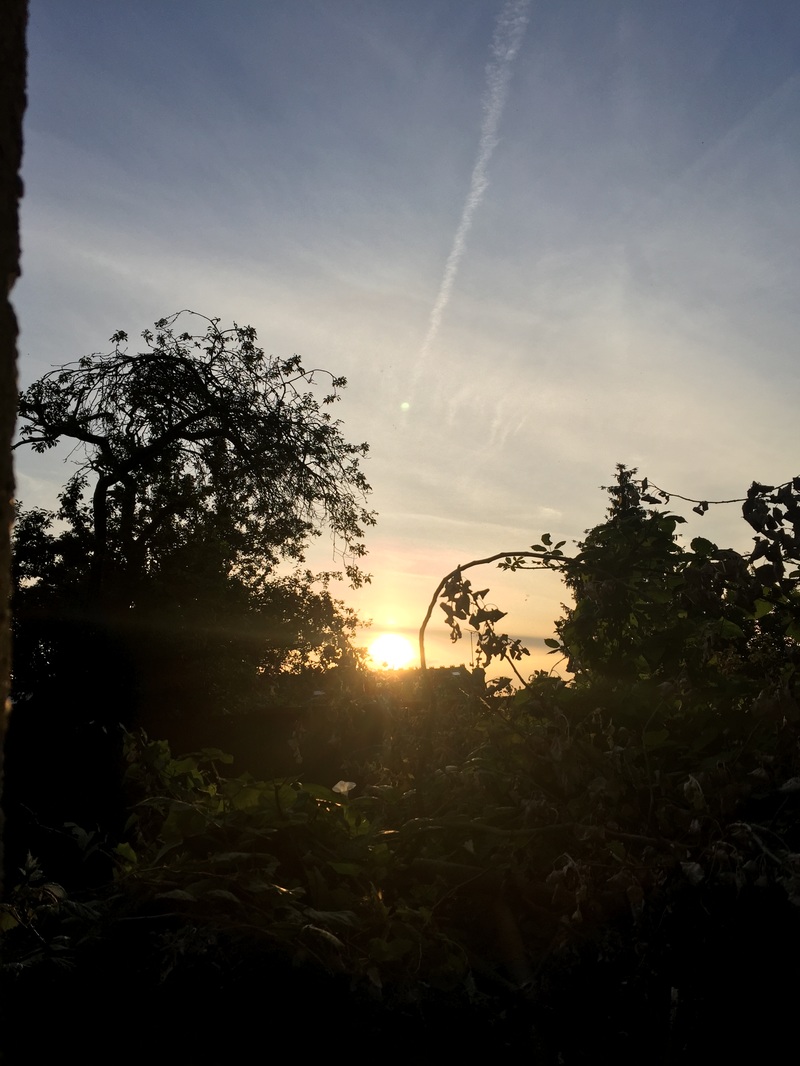
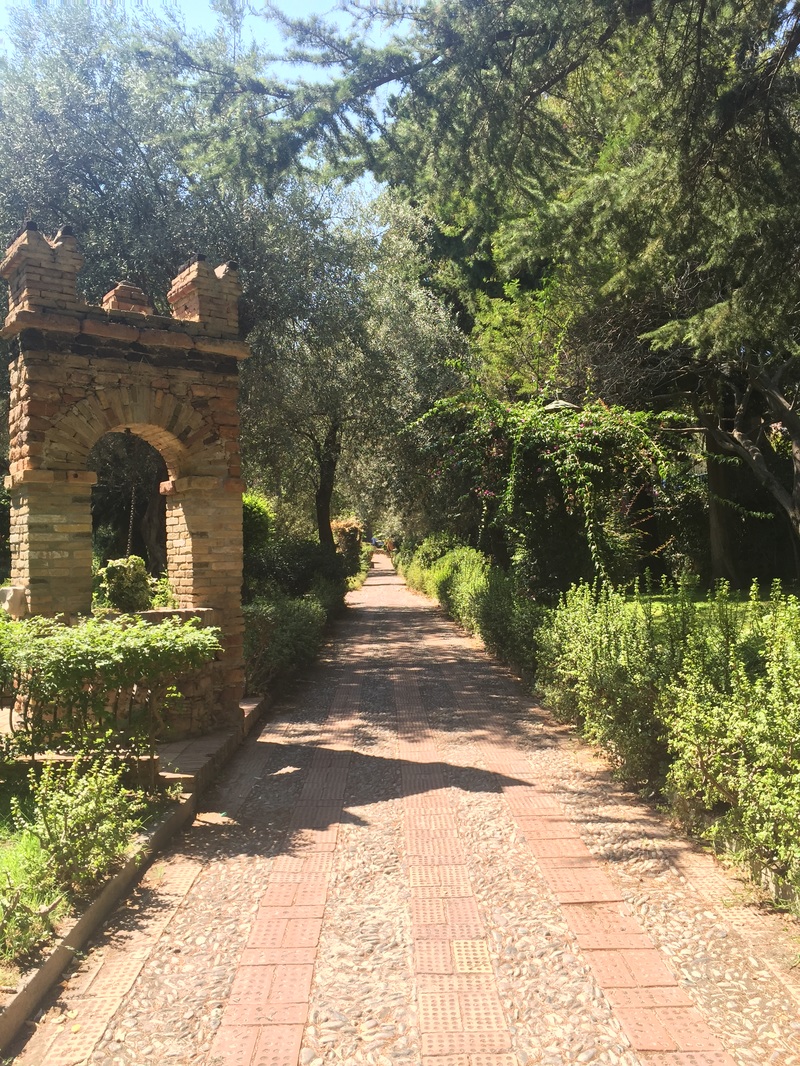
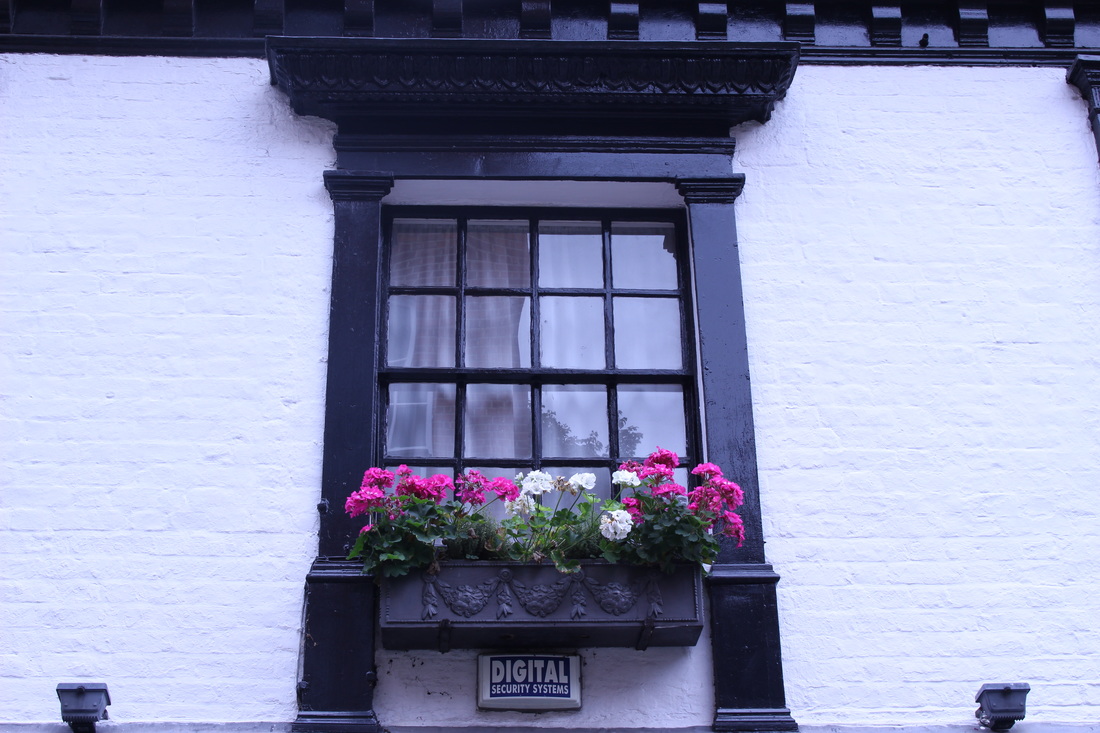
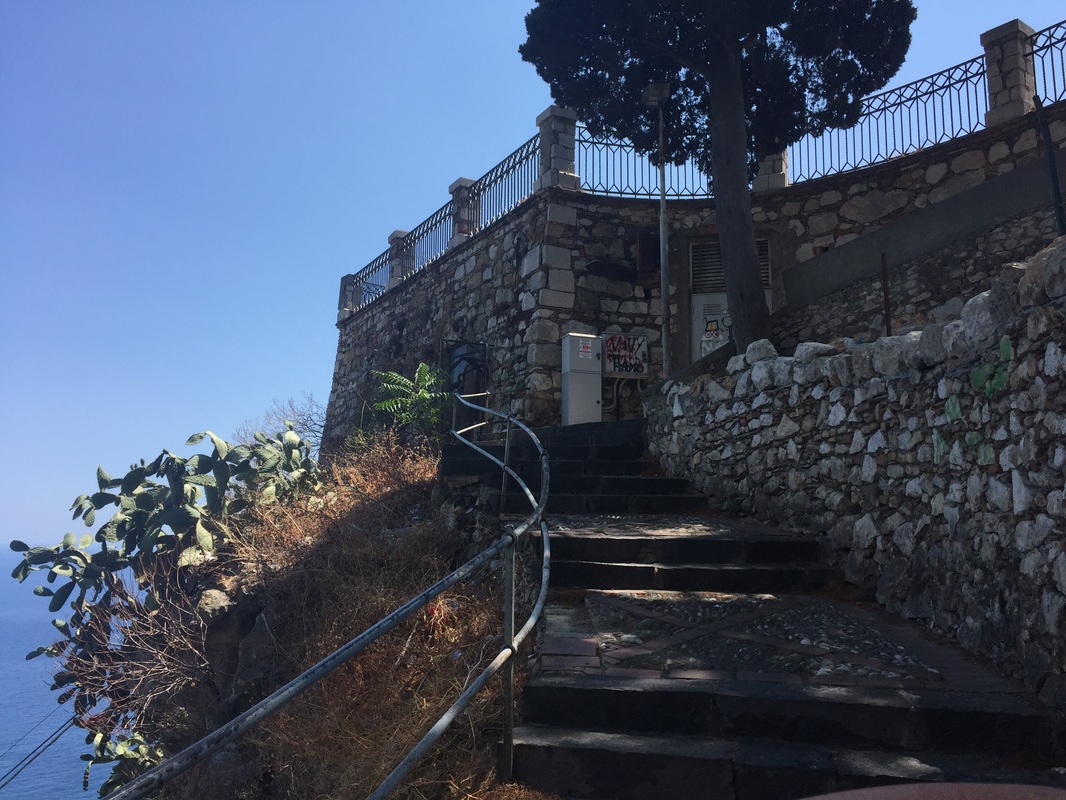
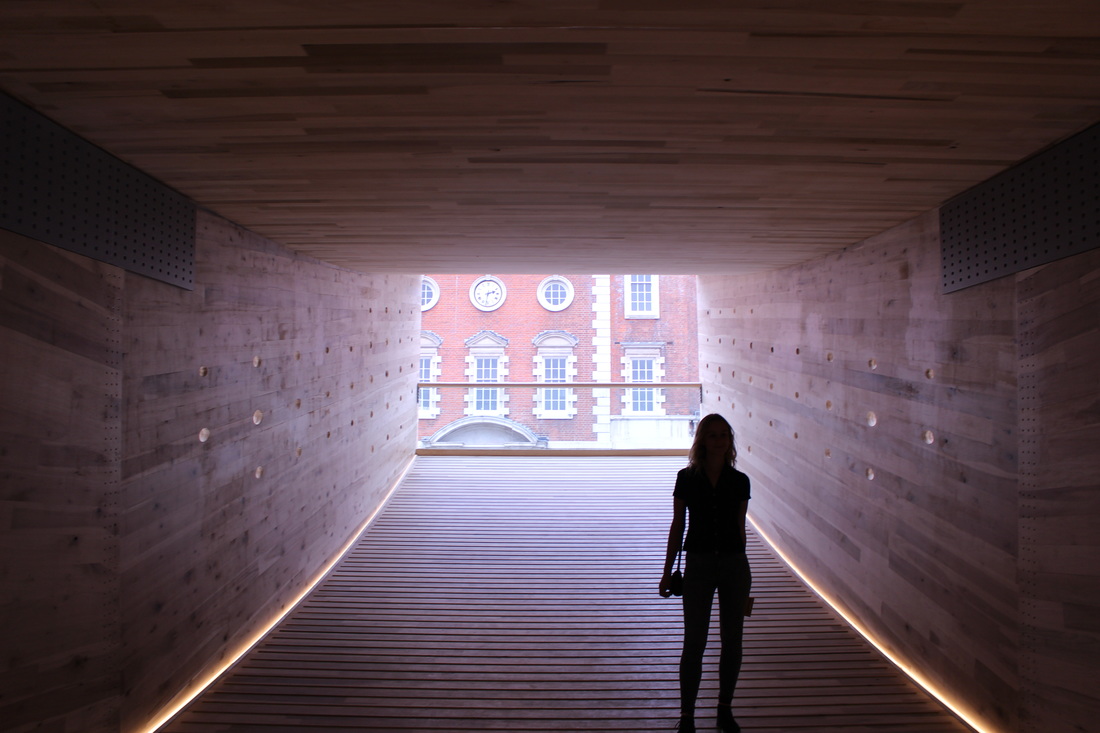
For the first task, I took ten pictures that I think accurately represent the kind of things that inspire me to take photographs. I found that in doing so I gravitated towards nature, landscapes, light and buildings. The images below are my ten photographs that I believe represent the type of photographs that are interesting to me and also show the aspects of real life that motivate me to enjoy capturing pictures.


history of photography
The first photographs go all the way back to the 9th century when scientist Alhuzen discovered the camera obscura, which is a dark room in which images are projected upside down through holes in the wall that let light in. During the Renascence in the 16th century artists such as Leonardo Da Vinci increasingly began using the camera obscura as a tool to get the perfect perspective and represent the reality of nature.
As technology advanced more portable devices were invented, such as the camera lucida. In 1724 Johann Heinrich Schultz discovered that certain silver salts, especially silver chloride and silver nitrate, are light sensitive. However the silver salts only kept the image temporarily and couldn't be fixed.
In 1827 the industrial revolution was extremely influential to photography and a scientist called Joseph Niépce fixed the first projected image of the view from his window in Le Gras, South France. A painter called Louis Jacques Daguerre helped Niépce to fix the projected image. Daguerre specialized in painting sets and illusionistic scenery for the Diorama.
In 1839 Daguerre announced the invention of the Dagerreotype, which was the first practicable method of obtaining permanent images with a camera.
Around the same time as the invention of the Daguerreotype, an English scientist called William Henry Fox Talbot developed another type of photograph called the Calotype, the Calotype had an advantage as it could be reproduced as a negative as opposed to being a single unduplicated image. In the early years, the Daguerreotype won over the Calotype as it had a sharper image and better overall quality. However, the Calotype began increasingly becoming more popular as the process of mass production was much easier and advances in paper technology led to better processing and overall quality.
In 1839, John Herschel made the first glass negative, although his method would prove difficult to reproduce. Slovene Janez Puhar invented a simpler process for printing images onto glass in 1841; this method was recognised on June 17, 1852. Later, in 1847, Niépce's cousin Niépce St. Victor who was a chemist invented a method for making glass plates with an albumen emulsion.
In 1851 Frederick Scott Archer invented the collodion wet plate process. By the end of the 1850s it had almost entirely replaced the first practical photographic process, the daguerreotype. The "collodion wet plate process" is an intricate process which required the photographic material to be coated, sensitized, exposed and developed within the span of about fifteen minutes, necessitating a portable darkroom. Although collodion was normally used in this wet form, the material could also be used in dry form, but at the cost of greatly increased exposure time, making these forms unsuitable for the usual work of most professional photographers—portraiture. Their use was therefore confined to landscape photography and other special applications where minutes-long exposure times were tolerable.
During the 1880s the collodion process, in turn, was largely replaced by gelatin dry plates—glass plates with a photographic emulsion of silver halides suspended in gelatin. The dry gelatin emulsion was not only more convenient but could be made much more sensitive, greatly reducing exposure times.
One collodion process, the tintype, was still in limited use for casual portraiture by some amusement park photographers as late as the 1930s, and the wet plate collodion process was still in use in the printing industry in the 1960s for line and tone work (mostly printed material involving black type against a white background) as for large work it was much cheaper than gelatin film.
An early method of colour photography, Autochrome Lumière, invented by the Lumière brothers in France in 1903 was an additive colour 'mosaic screen plate' process. It was the principle method of colour photography and was being used before the invention of colour film in the 1930's. The method uses a glass plate covered, on one side, with microscopic grains of potato starch dyed red-orange, green and blue-violet. Soot fills the spaces in between grains, and a black-and-white panchromatic silver halide emulsion is coated on top of the filter layer. Like early black and white photography, autochrome plate was a long method. Subjects of autochrome images would have to be still for long amounts of time in order not to make the photograph too blurry. However, the blur of autochrome images almost add to their aesthetic combined with the soft colours the method embodies, these photographs would look something like paintings.
|
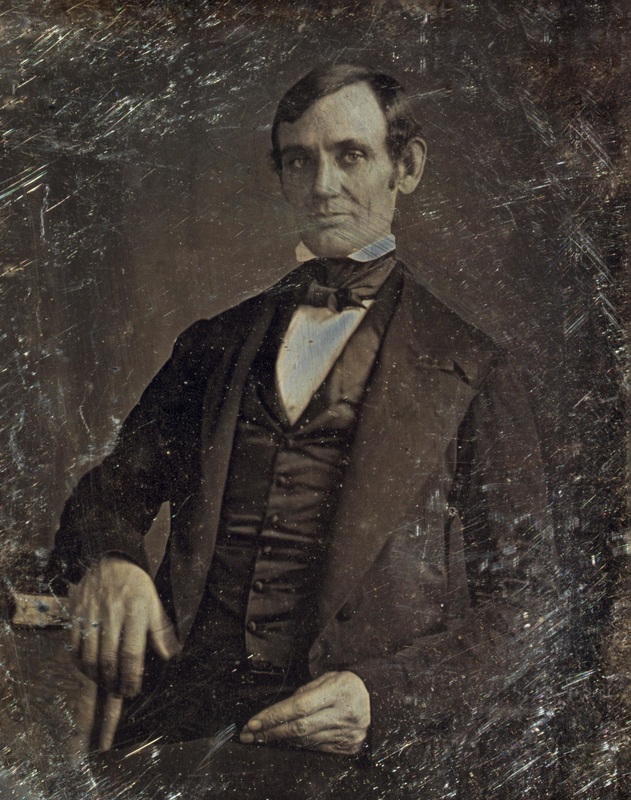
Daguerreotype
|
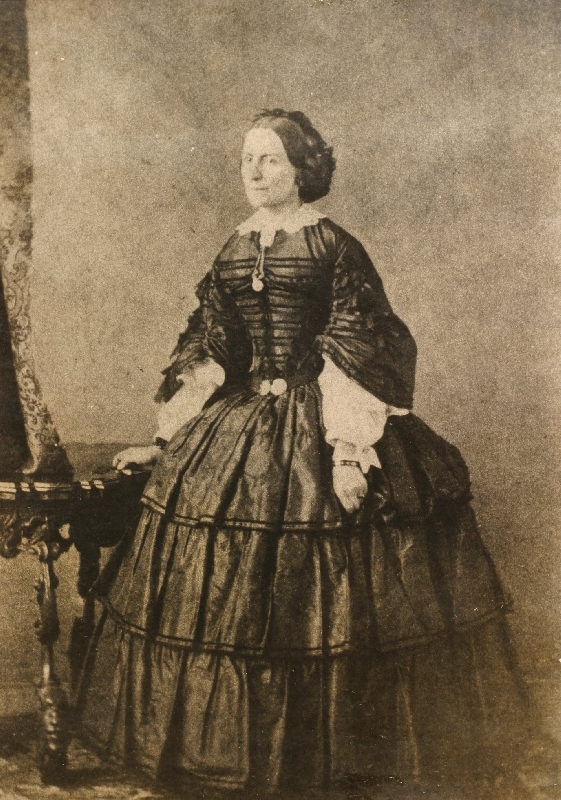
Calotype
|
photograms
|
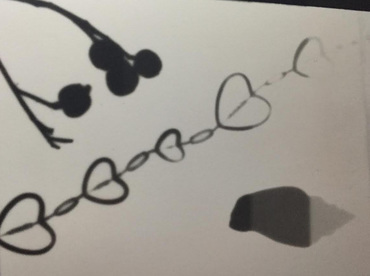
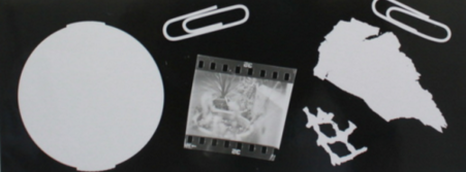
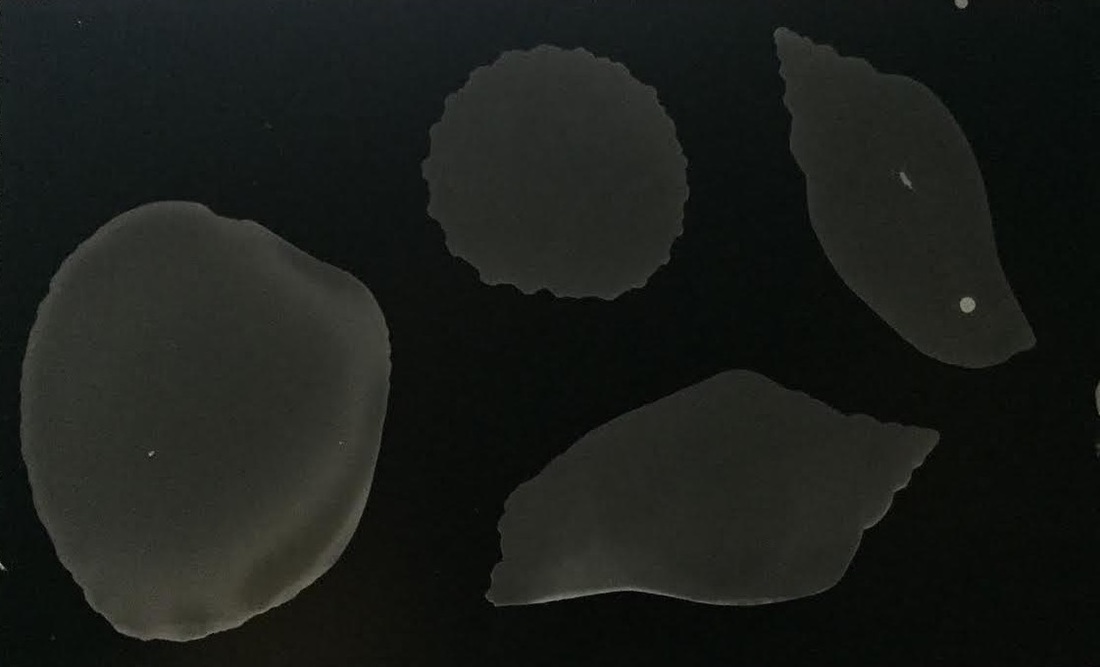
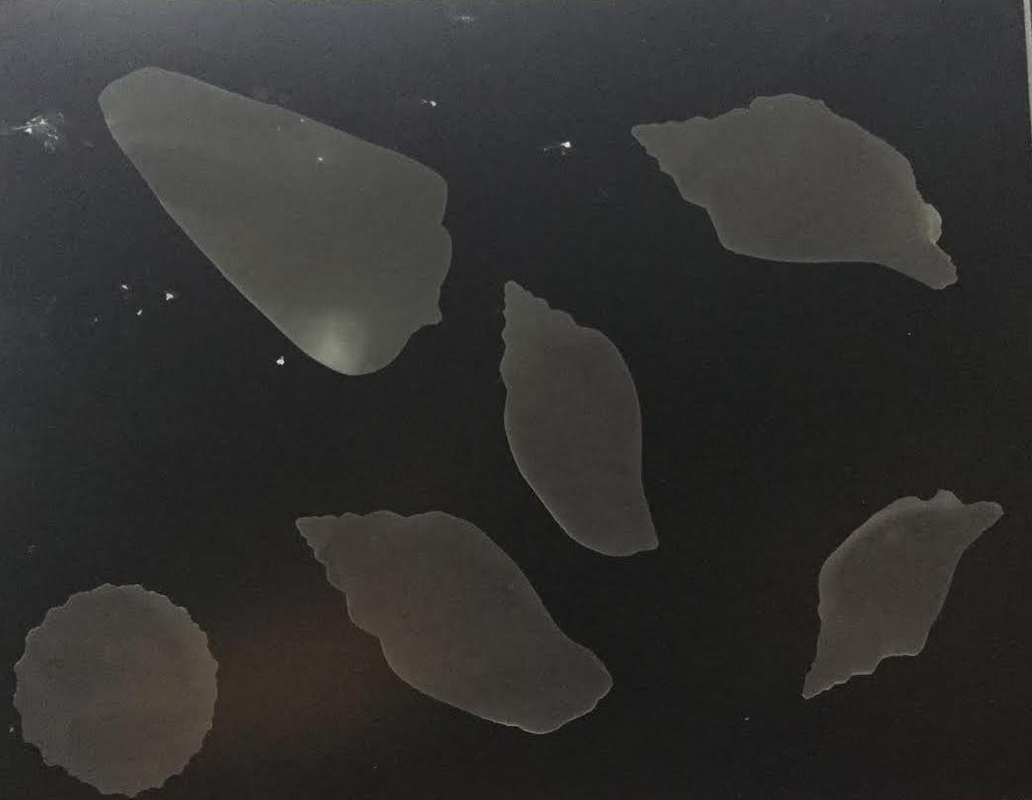
In a dark room objects are placed over photographic paper. Photographic paper is coated in a light sensitive chemical substance that allows an image to be fixed onto it. Once the objects are arranged as you want them, using an enlarger you can expose the image to light for about four seconds. Then the photographic paper is placed in three different chemicals; Firstly, a developing chemical that allows the image to develop. Secondly, a chemical that stops the image from developing. Lastly, a chemical to help the picture fix. Then the developed picture sits in water for about five minutes and is finally put through the dryer.
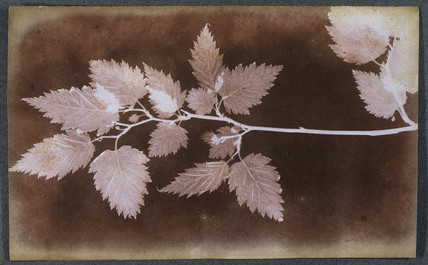
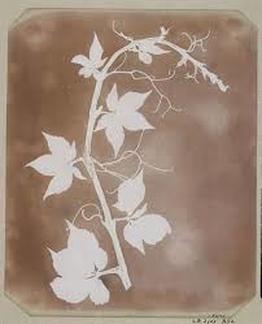
During the first period of the photogram in the 1800's they were mainly used for scientific purposes, to record plants and natural objects and were called "photogenic drawings". The second period was a rediscovery of the artistic potential as illustrated by Christian Schad, Man Ray and Lazol Moholy-Nagly in the Dada, Surrealist and Constructive periods of art, respectively. More recently, photogramists and photographers have utilised the photogram as a means of artistic expression to produce a wide variety of designs and surreal imagery. This imagery is being created using traditional silver-gelatin black and white materials and other photosensitive media including cyanotype that are now considered alternate methods. |
William Henry Fox Talbot Photograms
|
|
photogram prints
Test Strips
Process: Before creating a photogram in class, I first took a strip of photographic paper and used it as a test strip to help me decide what exposure would create the best contrast. I did this by holding paper over sections of the test strip as it was being exposed and moving the paper down every 1 second. I used objects in the test trip so I would be able to see the different levels of contrast and decide the right amount of time to expose my actual photogram. Below is my test strip and other examples of photograms that I made in class.

|
|
Photograms
|
|
|
|

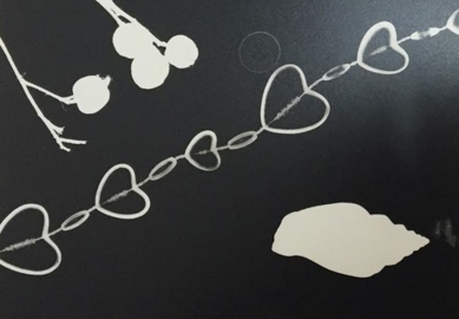
Sandwich Print
Process: To make a sandwich printed photogram I first placed my initial photogram, face up on top of a plain photographic piece of paper. Then, placing the two pieces of paper onto the enlarger I also covered them with a sheet of glass in order to keep them both flat. Before doing the final sandwich print shown below I had to make a test strip. I did so by covering sections of the image with black card and moving it down at one second intervals to be able to decide the best exposure for my final photogram. On the image shown below I exposed the sandwich print for around 5 seconds. Finally, I developed, stopped and fixed the image then washed it and put it through the dryer.
|
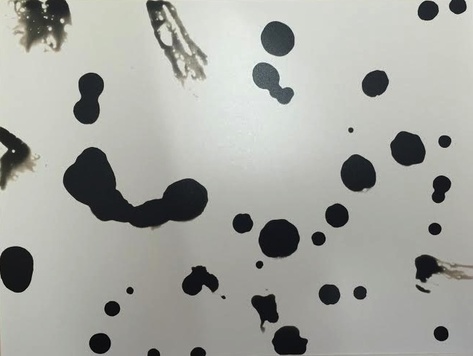
Painting On Developer
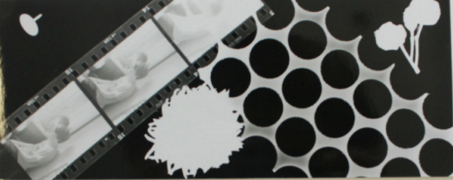
Process: To create the effect shown below, I simply placed a piece of light sensitive paper on to the enlarger and exposed it for about 4 seconds. Then, using a paintbrush, splattered the developer onto the paper to create the dotted effect shown below.
|
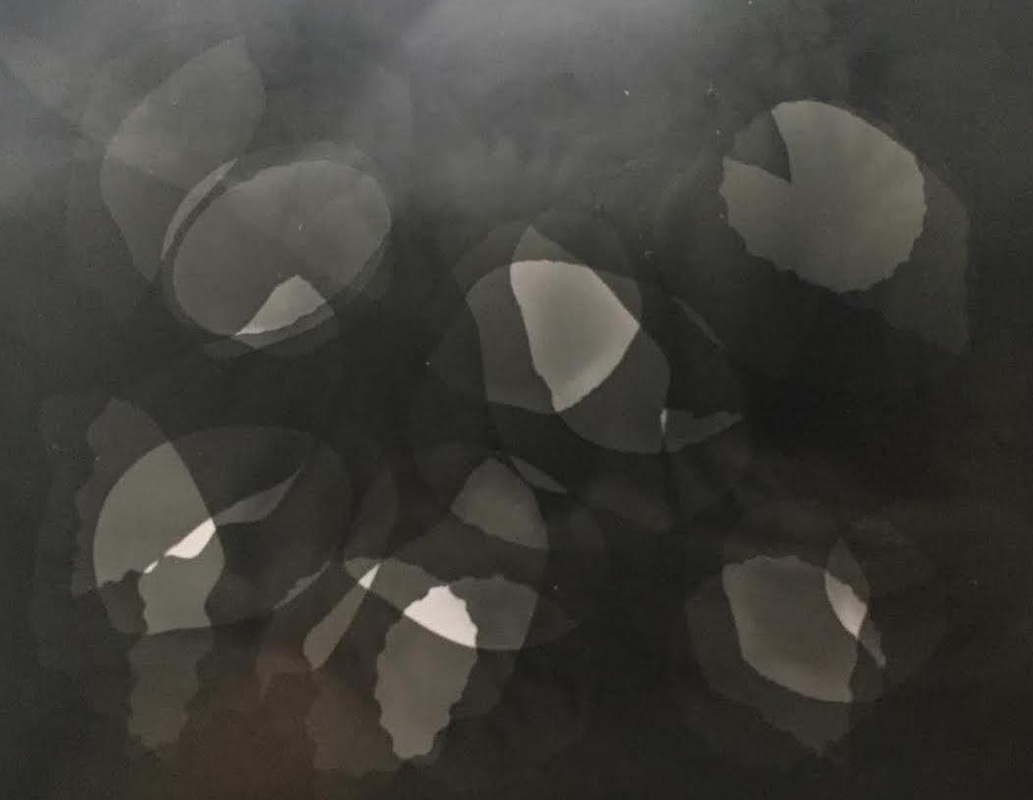
Moving Objects
Process: In order to create this effect I started the image how you would any normal photogram. However, exposing it for about 3 seconds, then moving the objects, exposing it again and repeating this step several times before finally developing the image.
|
|
|
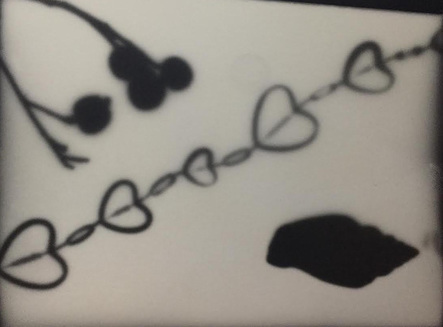
Solarisation
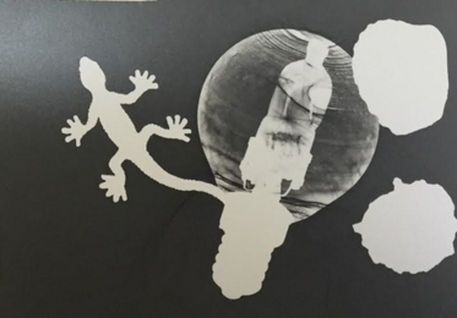
Process: To produce the two images shown below I first started by making a normal photogram. After exposing the photogram, I let it sit in the developer until I started to see the image show on the light sensitive paper. Once the paper started turning a darker colour, I placed it back onto the enlarger and exposed for another few seconds. Next, I put it back in the developer then stopped, fixed and dried it. The effect given by doing this makes the objects in the image look skeletal and give them slightly glowing edges. I think my solarised photograms could have had more clearly bright edges to the objects if I were to improve them.
|
|
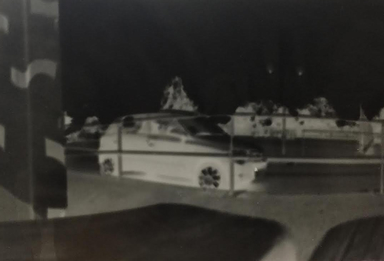
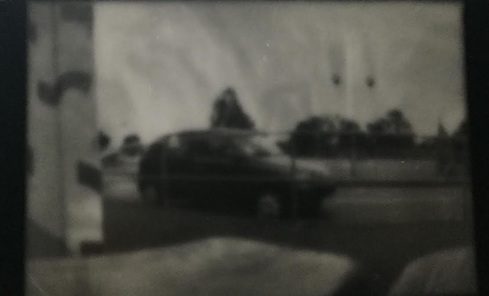
Pinhole Camera
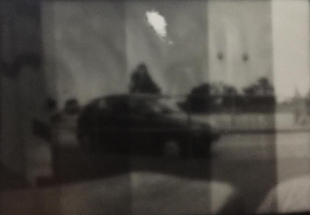
Process: A pinhole camera is a simple camera with no lens, but a small pinhole aperture. It is effectively a box with a small hole that allows light to come through. Inside the box there is a small sheet of photographic paper, so when the hole is exposed to light for a short amount of time (around 4-15 seconds depending on the amount of light) whatever the hole is pointed at will be captured onto the light sensitive paper as an inverted image. This process is similar to that of the camera obscura. When making my own pinhole camera image I placed the camera onto a table to ensure the photograph would be as in focus as possible. I exposed the light sensitive paper for about 5 seconds as it is was a relatively bright day. Below is the best outcome I got from using the pinhole camera.
|
|
Sandwich Print
|
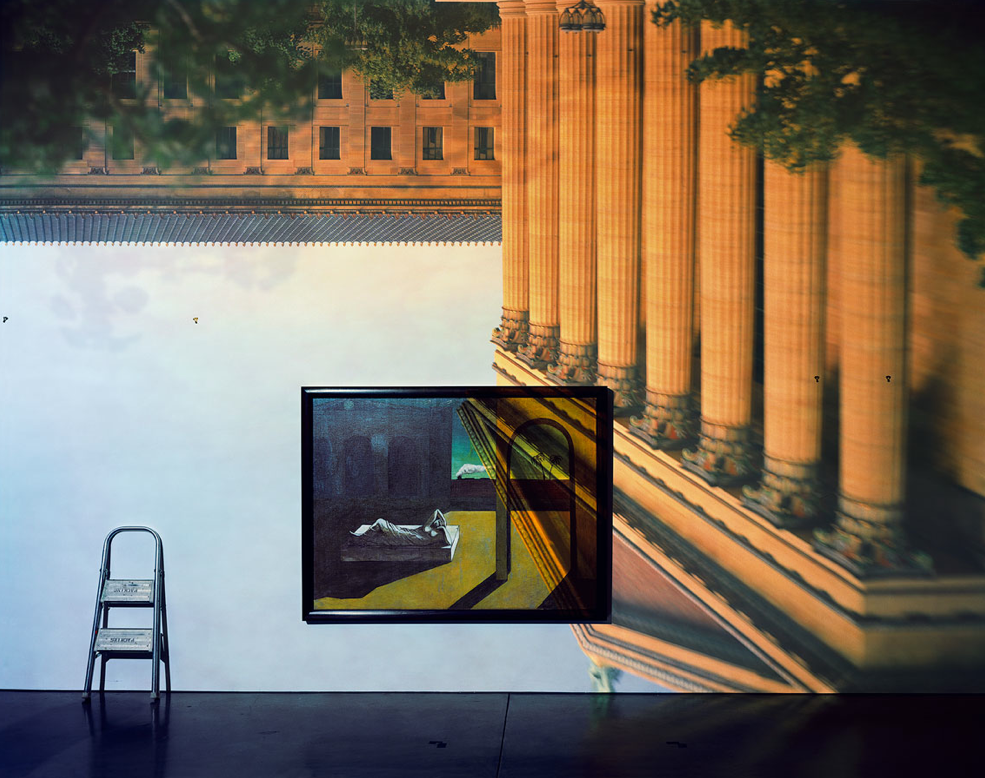
Camera Obscura - Abelardo Morell
"I made my first picture using camera obscura techniques in my darkened living room in 1991. In setting up a room to make this kind of photograph, I cover all windows with black plastic in order to achieve total darkness. Then, I cute a small hole in the material I use to cover the windows. This opening allows an inverted image of the view outside to flood onto the back walls of the room. Typically then I focused my large-format camera on the incoming image on the wall then make a camera exposure on film. In the beginning, exposures took from five to ten hours. Over time, this project has taken me from my living room to all sorts of interiors around the world. One of the satisfactions I get from making this imagery come from my seeing the weird and yet natural marriage of the inside and outside. A few years ago, in order to push the visual potential of this process, I began to use colour film and positioned a lens over the hole in the window plastic in order to add to the overall sharpness and brightness of the incoming image. Now, I often use a prism to make the projection come in right side up. I have also been able to shorten my exposures considerably thanks to digital technology, which in turn makes it possible to capture more momentary light. I love the increased sense of reality that the outdoor has in these new works. The marriage of the outside and the inside is now made up of more equal partners." - Abelardo Morell

|
This photograph is interesting as the photographer uses the painting in the middle of the image in many creative ways. The painting gives the image, as a whole, a much more abstract look. Without the painting being on the wall of the room where the camera obscura was created, the wall would simply look like an upside down view of the outside of the room. Morell also plays around with this by using the small ladder in the lower left-hand corner. These objects also highlight the size of the buildings outside, making them seem much larger and more imposing in comparison to the size of the painting and the ladder. Furthermore, the building being projected slightly on the corner of the painting makes the picture all the more abstract because the light is manipulated over the painting and looks different to the part of the camera obscura view thats on the wall.
|
I chose to analyse this particular photograph as it's quite different to other pictures in this series. This photograph has a lot within it and looks very busy, adding emphasise on the abstract aspect of the image. The crowded nature of the photograph also intrigues the viewer to take more thought when looking at the image. For example, by looking longer at the photograph the viewer will notice the small, black wardrobe on the wall of the room and the flowers on the table next to it. This is interesting as it's almost as if Morell did this on purpose to make the viewer look in more depth. This photograph also uses shadows in an interesting way, in the middle top of the image the shadow of the chandelier contrasts with the bright blue of the sky. Also, the walls of the room have been painted all over with some kind of jungle pattern adding to the business of the photograph.
|
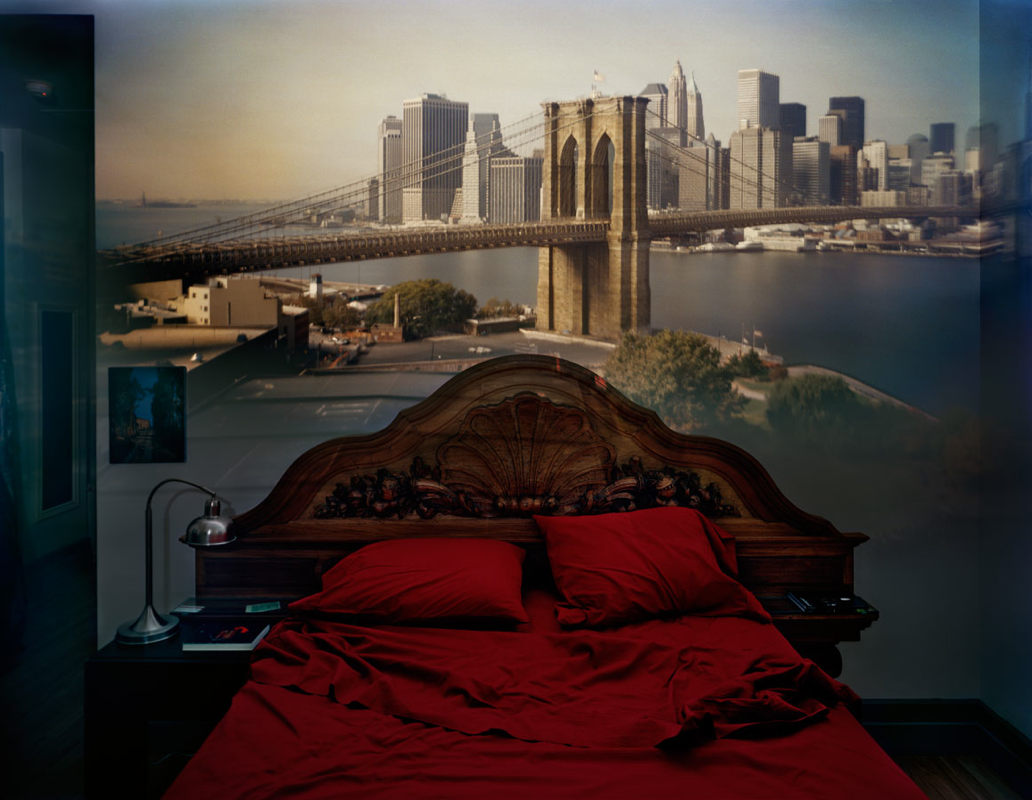
In this final photograph, Morell uses a much more simple, clean aesthetic. The skyline on the wall of the room embodies quite cold, harsh colours which contrast with the deep, warm red of the sheets on the bed. The picture also embodies some symmetry, different to the two previous photos as the bed is directly in the middle of the photograph. The detailed, decorative headboard on the bed also makes the photograph look more sharp as it emphasises the symmetry of the bed in the photograph. The perfect symmetry is disrupted slightly, however, by the small metal lamp in the left-hand corner of the image and the small painting above it. Both of these objects retain similar cool colours to those in the skyline of the city outside the room. This makes them seem less significant in comparison to the contrasting warm colours of the bed making the bed, in turn stand out.
|
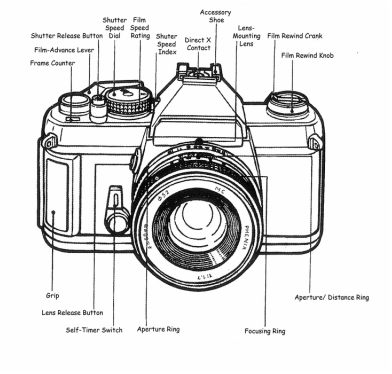
SLR Camera
|
A single lens reflex camera means the same lens that is used for viewing is also used when taking the picture. A mirror inside the camera reflects light from the lens into the prism and through the viewfinder, before flipping out of the way the split-second before an exposure is made. This technology is still used today in DSLR's. The 35mm SLR is mostly associated with professional photographers. The first 35mm cameras came about between 1905 and 1913. They give high quality results and have settings for a wide variety of different shooting scenarios. These cameras were innovative and popular when they were first released because they allow the photographer to see exactly what the lens will capture on the film when framing the shot. The first major post-war SLR innovation was the eye-level viewfinder. The use of photographic film was first introduced by George Eastman. This was a very simple box camera with a fixed-focus lens and a single shutter speed, it was also extremely affordable so it was appealing to the average consumer. By the end of the nineteenth century Eastman had manufactured several different models of the SLR camera including both box and folding cameras.
|
Shooting With film
For this task I used negatives from an SLR camera to produce an enlarged image and a contact sheet. The contact sheet was done in a similar way to the photogram: I used light sensitive paper underneath the film inside a storage file. On top of this I covered both items with glass to ensure that the contact sheet produced would be as sharp as possible. After exposing the image for around 10 seconds in the enlarger I developed, stopped, fixed and dried it. Below is the final outcome of my contact sheet, my test strip for the enlargement and my final enlargement. I think the enlargement came out exposed enough on the right side of the image, however towards the light top-hand corner the windows are slightly under-exposed.
|
Contact Sheet
|

|
|
Test Strip for Enlargement


|
Final Enlargement
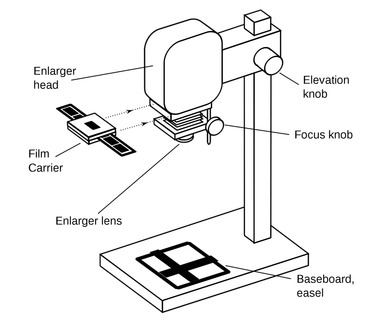
Process: To create the enlarged image from film that is shown below I first used the film inside the enlarger. I did this by placing the film negative that I wanted to enlarge within the enlarger head, inside the film carrier. Secondly, I placed a 5x8" piece of light sensitive paper onto the baseboard of the enlarger. To get the best possible outcome from my enlarged image, I ensured to adjust the aperture of the enlarger to around 8 and made sure that the image projected was in focus by adjusting the focus knob accurately. After deciding to expose the photograph for 6 seconds by referring to my test strip I developed, stopped fixed and dried the image giving me my final outcome which is shown below.
|
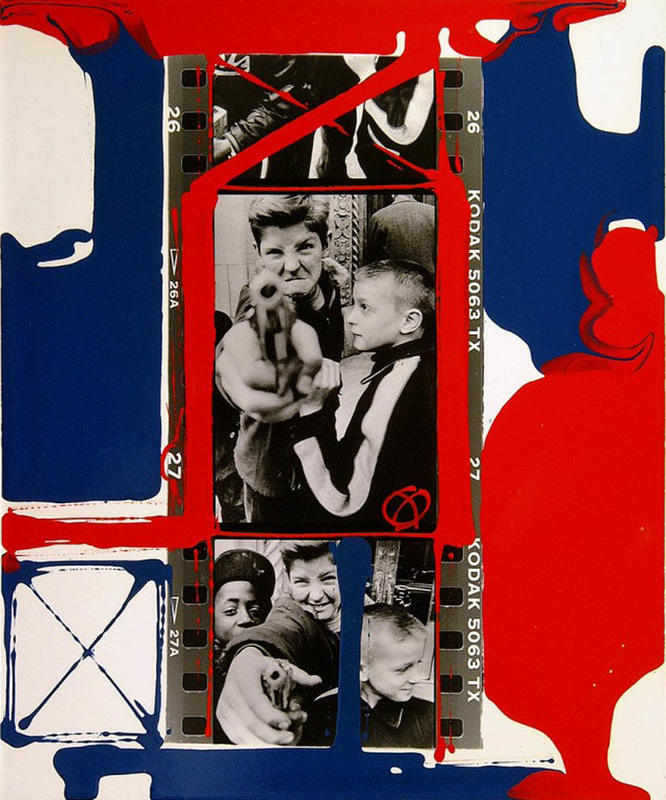
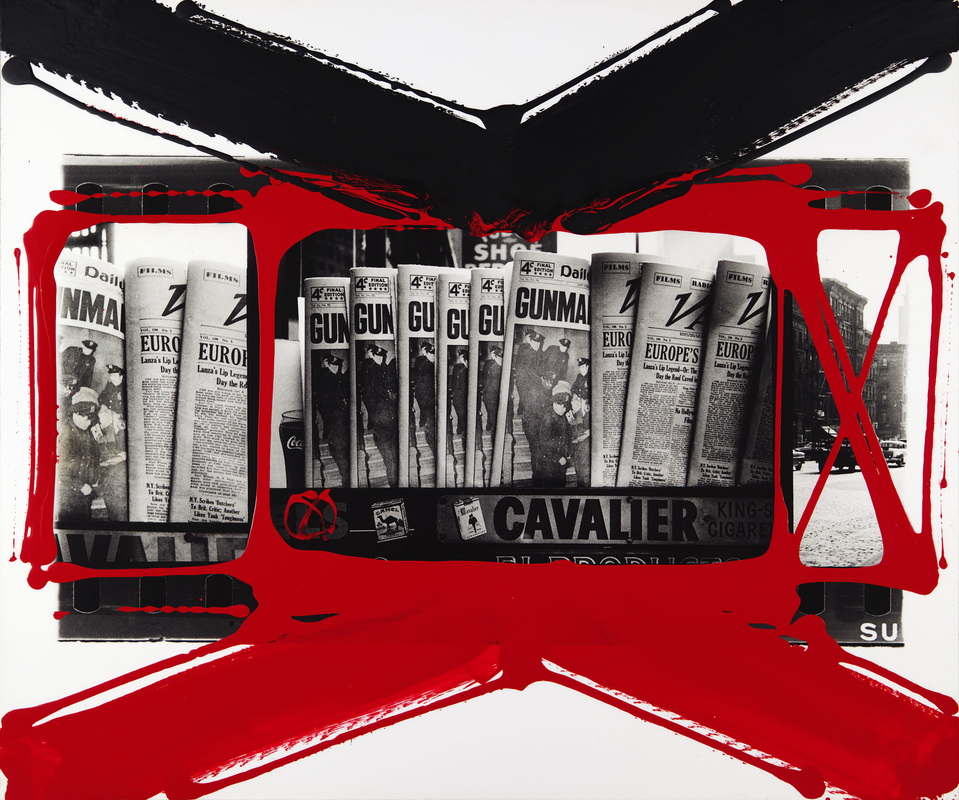
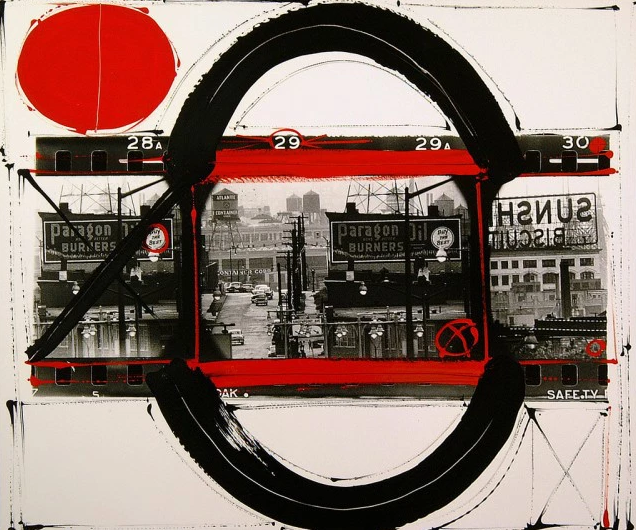
William Klein
'The first episode in a series of short TV documentaries, initiated by Klein himself, in which great photographers are invited to talk about their practice as the camera pans across some of their contact sheets, thus mimicking a crucial process of image selection and self-critique usually kept behind the scenes. Eager to show what happens in between iconic shots, Klein guides us through the making of a photograph from the instant of framing and shooting through to the brutally honest dissection of a developed roll of film, mainly made of rejected shots or ‘non-photographs,’ and emphasising the possibilities for further experimentation in the lab and beyond. This experience of opening up his studio practice to the public eye gave Klein the initial idea for his trademark hand-painted contact sheet blow-ups, which he sees as ‘another way of dealing with and showing a photograph.’
|
|
|